Email Manager
Review, approve, reject, edit, and regenerate the emails your campaigns generate, and what rejecting an email actually does to a lead's enrollment.
Email Manager (the home page) is where every generated email across every campaign passes through before it sends.
Reviewing emails by status
Emails are organized into six tabs, each with a live count: All, Pending Approval, Approved, Sent, Failed, and Rejected. The table itself is sortable by Recipient, Subject, Status, Campaign, and Created date, with a search box, a Campaign filter, an AI & Template / AI / Template filter, and a date-range filter above it. Search matches the recipient's name, their email address, the subject line, and the body of the email.
Since one campaign can mix AI-drafted and template-written emails at different steps, each row also shows a small badge next to its Campaign badge marking it AI or Template — useful for telling the two apart in an unfiltered or mixed view. The detail panel repeats this as a Drafted by field.
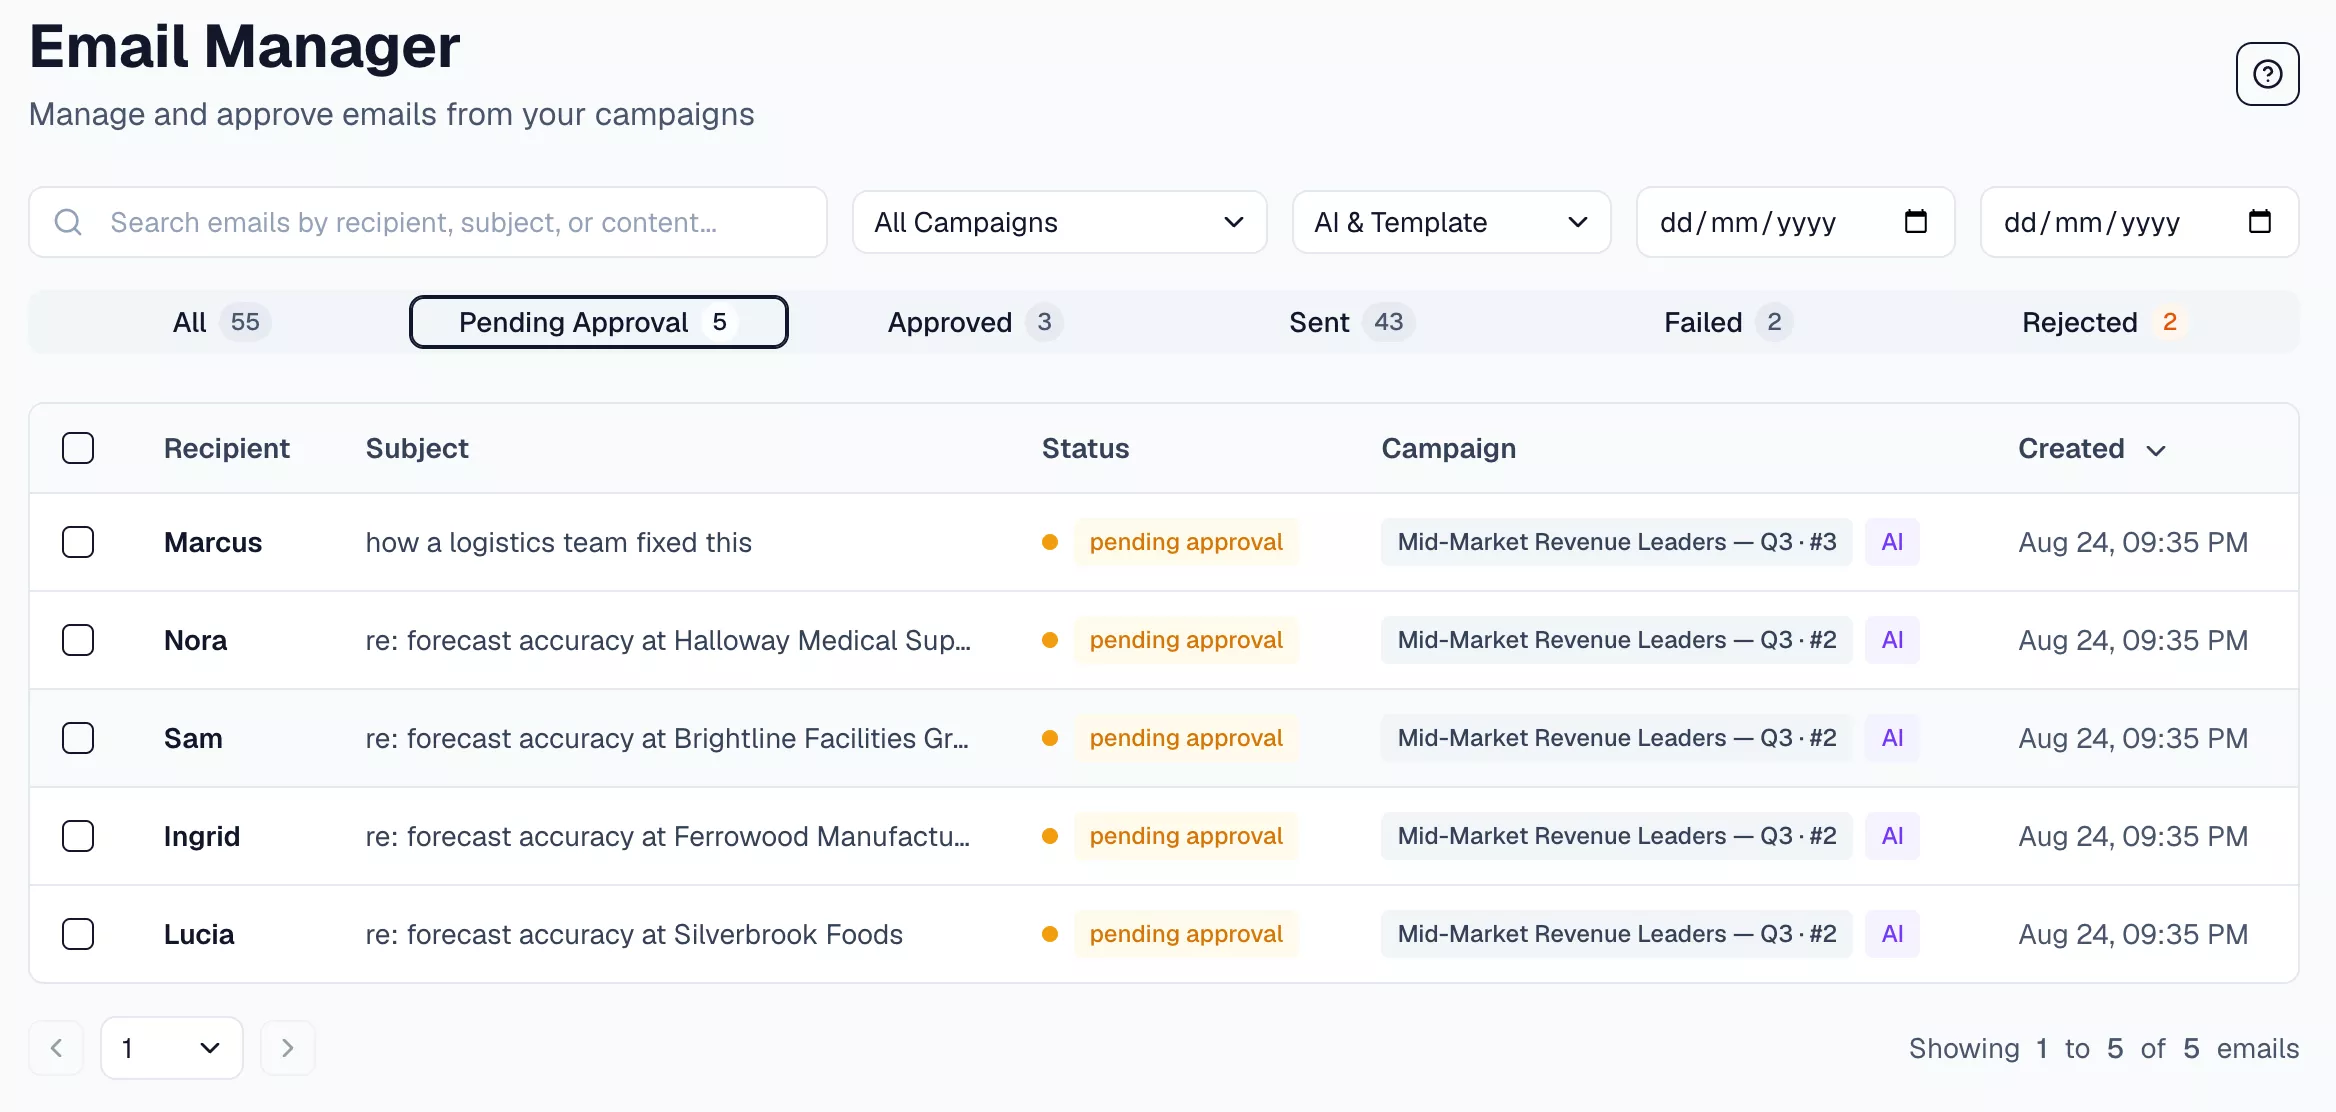
The counts are the fastest way to see where a campaign stands: what is waiting on you, what is queued, and whether anything has failed.
Click any row to open its detail panel.
Approving, rejecting, and editing
What you can do in the detail panel depends on the email's current status:
- Pending Approval or Approved — Subject and Body are editable. Save Edits saves your changes without changing status; Approve Email approves it; the Reject button opens a popover with preset reasons (Too generic, Wrong signal used, Off-brand tone, Wrong person, Factually incorrect, Regenerate needed) or a custom reason, and two ways to confirm — Reject or Reject & Regenerate.
- Rejected — the only action is Regenerate.
- Sent or Failed — read-only; no actions are available.
Rejecting an email pauses that lead's entire campaign enrollment, not just this one email — no further emails in the sequence go out until you either regenerate it or resume the enrollment manually from the campaign's Leads tab.
Regenerating a rejected email
Clicking Regenerate (standalone on a Rejected email, or via Reject & Regenerate) discards the rejected email, rewinds the lead back to that step in the sequence, and resumes the enrollment. A fresh email is written the next time the generation cycle runs — a few minutes later, not instantly.
Resuming a rejected lead's enrollment from the Leads tab instead of clicking Regenerate here isn't the same thing: it leaves the rejected email as a permanent record and moves the lead on to the next step in the sequence, skipping this one entirely rather than retrying it. Use Regenerate when you want another attempt at the same email.
Bulk actions
Select multiple rows with their checkboxes to reveal a bulk action bar. Approve is available from the All or Pending Approval tabs; Reject is available from All, Pending Approval, or Approved. Neither appears on the Sent, Failed, or Rejected tabs.
If more emails match your current filters than fit on one page, checking every row on the page reveals a Select all N matching link — selecting every matching email across every page in one action, up to 1,000 at a time. Past that, it becomes Select first 1,000 of N matching; act on that batch, then click it again to reach the rest.
Keyboard shortcuts
With an email's detail panel open: A approves it, ↑/↓ move to the previous or next email on the current page (not across pages), and Esc closes the panel.
Related docs
- Campaigns — auto-approve and other settings that affect what lands here.
- Leads — enrollment status, including the pause a rejected email leaves behind.
- Getting Started